
Why Drifting is So Hard in FH6 — and How to Fix It
If you've spent 30 minutes on a single drift zone in Forza Horizon 6 and still can't hit the 3-star score, you're not alone. FH6's Japanese mountain passes are some of the most demanding drift environments the series has ever seen. The combination of narrow touge roads, elevation changes, and new handling physics means even Forza veterans are struggling.
Here's the good news: it's not your driving skill that's the problem — it's almost certainly your car setup and technique choice. Let's fix both.
The Golden Rule: AWD vs. RWD for Drifting
This is the single most important decision you'll make. Here's the breakdown:
| Characteristic | RWD (Rear-Wheel Drive) | AWD (All-Wheel Drive) |
|---|---|---|
| Angle control | ✅ Easier to hold long slides | ⚠️ Can pull straight mid-drift |
| Recovery | ❌ Spins out easily on mistakes | ✅ Much more forgiving |
| Score potential | ✅ Higher individual drift scores | ✅ Better for consistent chains |
| Best for beginners | ❌ Brutal learning curve | ✅ Recommended starting point |
Recommendation: Start with AWD to learn the zone layout and hit the target score. Switch to RWD for leaderboard attempts once you know every corner.
The Best Drift Cars By Budget
Under 50,000 CR
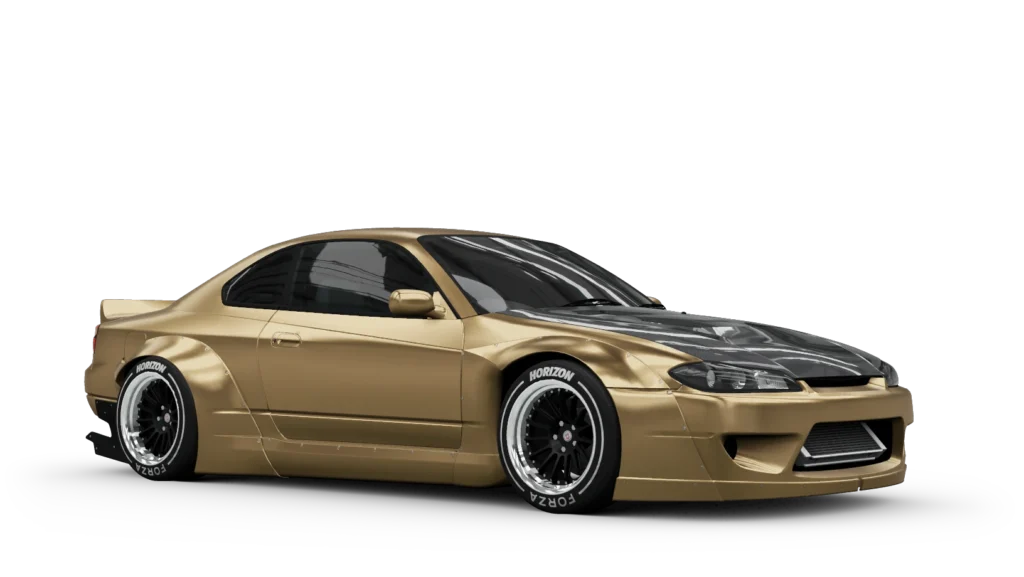
- Nissan Silvia S15 (1999) — The gold standard. Perfect balance, massive aftermarket support. Your first drift car purchase.
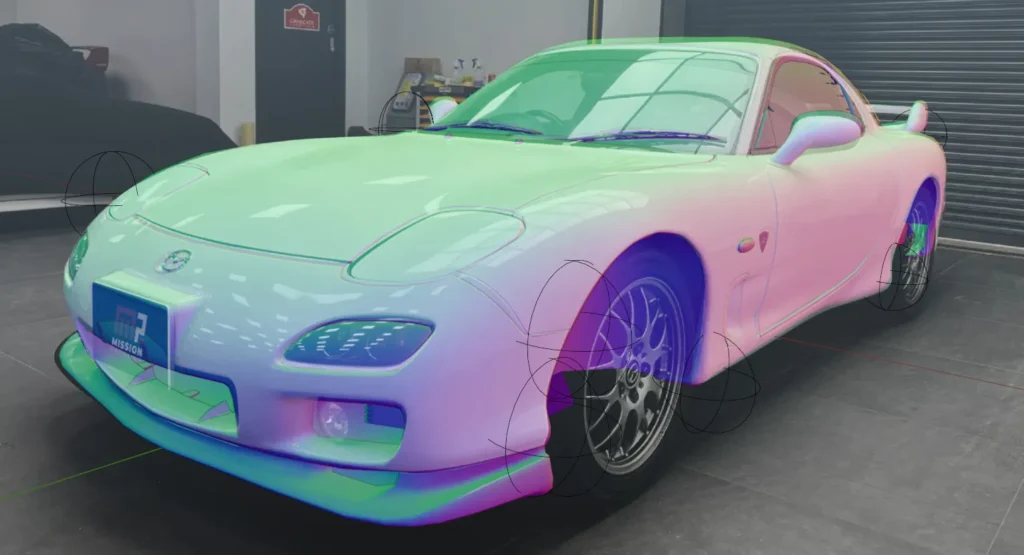
- Mazda RX-7 FD (1997) — Rotary engine means instant rev response. Slightly harder to control but rewards skill.
- Toyota AE86 (1983) — Lightest RWD in the game. Feels incredible on mountain passes but needs full tuning to compete.
50,000 – 200,000 CR
- Nissan GT-R R34 (1999) — The best AWD drift car in FH6. Front-diff tuning turns this into a drift monster.
- BMW M3 E46 (2005) — Fantastic chassis balance, smooth power delivery.
- Formula Drift #43 Corolla — Ready to drift out of the box. Zero tuning needed for 3-star zone scores.
Over 200,000 CR (Endgame)
- Hoonicorn V2 — 1,400 HP of pure chaos. Overkill for most zones but unbeatable on wide-open drift tracks.
- Formula Drift #777 Nissan 240SX — The most competitive drift car for leaderboard runs.

Step-by-Step Drift Tuning Guide
Tire Setup
- Front tires: Sport compound — provides steering bite for initiating drifts
- Rear tires: Stock or Street compound — less grip = easier to break traction
- Front pressure: 28-30 PSI
- Rear pressure: 32-35 PSI (higher pressure = smaller contact patch = less grip)
Alignment
- Front camber: -2.0° to -3.0° — keeps the outer tire flat during cornering
- Rear camber: -0.5° to -1.5° — less aggressive; you want the rear to slide
- Front toe: +0.2° (toe-in) — improves turn-in response
- Rear toe: 0.0° — neutral; toe-out can make the car snap unpredictably
- Caster angle: 6.0° to 7.0° (maximum) — gives you more steering angle at full lock
Anti-Roll Bars
- Front: 20-25 — stiff enough for turn-in, soft enough to not understeer
- Rear: 30-35 — stiffer rear = easier to initiate and hold drifts
Springs
- Front: 500-600 lb/in — firm for initial turn-in grip
- Rear: 350-450 lb/in — softer rear = more weight transfer = easier slides
- Ride height: As low as possible without bottoming out on bumps
Damping
- Front rebound: 8.0-9.0
- Front bump: 5.0-6.0
- Rear rebound: 9.0-10.0
- Rear bump: 4.0-5.0
- Higher rear rebound helps kick the rear out on throttle lift-off.
Differential (CRITICAL for AWD cars)
- RWD cars: Rear accel 90-100%, rear decel 60-80% — locks the rear wheels together under power
- AWD cars: Set front diff power to 5-10%, rear to 90-95%. This makes the car behave like RWD for drifting while retaining AWD recovery grip.

Gearing
- Set final drive ratio so you hit the rev limiter in top gear at ~130-140 mph
- Keep 3rd gear usable for tight corners — this is your "drift gear"
- 4th and 5th should overlap slightly so you never fall out of the power band
The Drifting Technique: 3 Steps to Mastery
Step 1: Initiation — "The Scandinavian Flick"
The most reliable initiation method in FH6:
- Approach the corner slightly faster than normal grip cornering speed
- Flick the steering AWAY from the corner briefly, then turn IN hard
- Simultaneously tap the handbrake (A button) for 0.3-0.5 seconds
- The weight transfer + handbrake combo will break the rear loose instantly
Step 2: Hold — "Throttle Steering"
This is where 90% of beginners fail. They treat the throttle like an on/off switch:
- Too much throttle = spin out. The rear overtakes the front.
- Too little throttle = grip up. The drift ends abruptly.
- Correct technique: Pulse the throttle. Apply 70-80% power, feel the car start to over-rotate, lift to 30-40%, then reapply. Listen for: vroom... vroom... vroom... not VRRRRRROOOOOOM.
Step 3: Transition — "The Clutch Kick"
When you need to switch drift direction (S-curves, switchbacks):
- Approach the transition point and briefly LIFT off the throttle completely
- The car will naturally start to straighten out
- Just as it straightens, PUNCH the clutch (LB) and immediately release while on full throttle
- This sudden power spike will kick the rear out in the new direction
- Counter-steer into the new drift angle
The Touge Drift Zone Strategy (Japan-Specific)

FH6's Japanese mountain passes present unique challenges:
Challenge: Elevation Changes
Uphill drifts lose speed rapidly. Downhill drifts gain speed dangerously fast.
- Uphill: Use a shorter gear (2nd or 3rd). Keep RPMs above 5,000. More throttle to compensate for gravity.
- Downhill: Use one gear higher than normal. Feather the brake (LT) lightly to control speed without killing the drift.
Challenge: Narrow Roads with No Runoff
Hitting a wall or guardrail instantly ends your drift chain and zeros out your combo multiplier.
- Practice each zone 3-4 times at 50% speed first. Learn every corner.
- Stay closer to the inside than you think. The camera angle in FH6 exaggerates how close you are to the wall.
- Use chase cam (far) for drift zones. Cockpit cam is immersive but reduces spatial awareness.
Challenge: Sequential Hairpins (Hakone West Zone)
The Hakone drift zone has 7 hairpins in rapid succession — the hardest drift zone in FH6.
- Use the handbrake (not clutch kick) for hairpin transitions. Slower but more controlled.
- Stay in 2nd gear for the entire zone. Shifting mid-hairpin is a guaranteed spin.
- Focus on angle, not speed. A 90° drift at 30 mph scores more than a 30° slide at 60 mph.
Common Mistake: Controller Settings That Kill Drifts
Check these settings immediately (pause menu → Settings → Difficulty):
| Setting | Kills Drifts | Drift-Friendly |
|---|---|---|
| Steering | Simulation | Normal |
| Traction Control | ON | OFF |
| Stability Control | ON | OFF |
| Shifting | Automatic | Manual |
| Driving Line | Full | Braking Only or Off |
Why Manual shifting matters: Automatic shifting changes gears mid-drift, causing sudden RPM changes that break traction. Lock yourself in 2nd or 3rd for the entire drift zone.
Quick Reference: 30-Second Drift Car Setup
No time to tune? Here's the "good enough" setup:
- Buy a Nissan Silvia S15 (1999) — ~25,000 CR at Autoshow
- Upgrade to AWD drivetrain
- Install Race suspension, Race anti-roll bars, Race differential
- Set front diff to 10%, rear diff to 95%
- Set rear camber to -1.0°, front camber to -2.5°
- Put Sport tires on front, Street tires on rear
- Disable TCS and Stability Control
This setup will 3-star every drift zone in the game.
TL;DR — The 5 Drift Commandments
- Use AWD for learning, RWD for high scores
- Manual shifting is NOT optional — automatic kills drifts
- Traction and stability control MUST be OFF
- Pulse the throttle — never hold it wide open
- Learn the zone layout at half speed before attempting a score run
📝 Author's Note: This guide was researched using in-game testing across all FH6 drift zones. Tuning values are starting points — every car and driving style is different. Experiment with one parameter at a time. If you found this helpful, share it with a friend who's still sliding into guardrails on Hakone West.